
So you know how you see those pictures on pinterest or whatever, and the model has the perfectly messy, super cool braid around her head? And you say to yourself, I can totally do that? And then you realize you really, really can’t? I go through that daily. But I think I can kinda fake it, and I figured I would teach you how. Luckily, I’m even worse at photography than I am at braiding hair! So not only are the instructions mediocre, the photos are blurry! Lucky you, dear reader!
STEP ONE

Start with unbrushed, wavy hair. I think braids look best when they’re messy, and when your hair is perfectly sleek the IDGAF look goes out the window. I just put a little serum on the ends and then let it air dry.
STEP TWO
This is where pictures start to get a little blurry, y’all.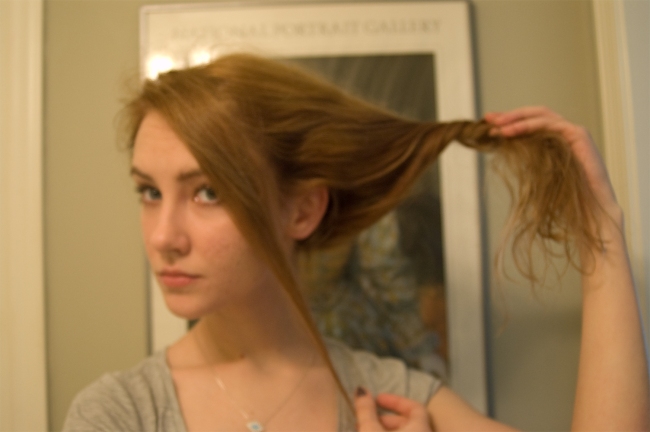
Pick a few pieces of hair to hang around your face. Strands of hair around your face lets everyone know that you are a super cool, relaxed, and naturally stylish person.
STEP THREE

Split your hair in half. Decide it’s best not to think about how jacked up your hairline is.
STEP FOUR

Start braiding from the bottom of your hair. I’m sure that has a technical term. Let’s just stick with bottom. I did a dutch braid, because I don’t know how to french braid. I thought I did, until I realized that I have only ever done a dutch braid. How do you french braid?
STEP FIVE

Braid your hair until you run out. Don’t worry about little pieces sticking it. They just add to your cool-girl vibe.
STEP SIX

Tie off your braid with an elastic, then see where you stopped dutching the braid. Does that make any sense? Knowing where you stopped adding hair into the braid will make it easier for you to get your braids a little more symmetrical.
STEP SEVEN

Pick which braid look shittier, then pin that one up first. The better looking braid will go in front of the ugly one. Life is just one big beauty contest. Also, you will give yourself awesome forehead wrinkles while trying to do this. You can rock ’em.
STEP EIGHT

Pin up the better braid. Marvel at its beauty. Then pin any pieces of hair that look out of place or weird. If a braid looks funky, you can usually fix it with a bobby pin. Don’t just start again. Believe in your braid.
STEP NINE

ROCK YOUR BRAID. You can tuck the strands of hair behind your ears, leave them down, just whatever you want. Remember, imperfections show the world that you’re too busy and fabulous to spend time perfecting a halo braid. Also, choose which side of your hair looks better and insist that you can only be photographed from that side.
I hope somebody out there finds this mildly helpful. I’m using the whole ‘this is my first hair tutorial’ thing to excuse the mediocrity of the photos, the instructions, the awkward posing, and the bad photo shopping I did to my skin. I’ll get better at doing stuff, I promise!
